 MATCH STORIES
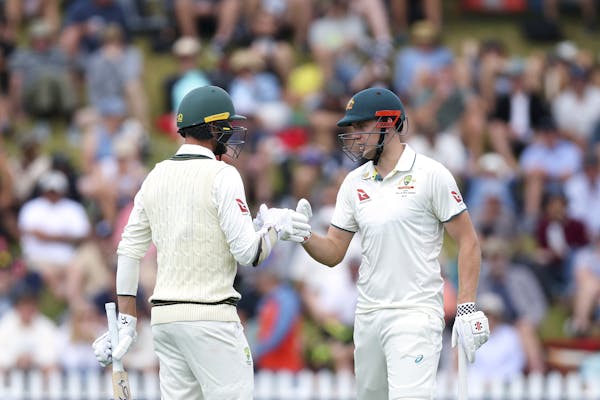
Cameron Green was on 73 when Pat Cummins was trapped LBW by Rachin Ravindra. New Zealand, at that point, would have hoped to bowl Australia (244/8) out under 260, with the ball still doing a lot.
Incredibly enough, Australia ended up posting 383 on the board, adding 139 more runs from the time of Cummins’ dismissal.
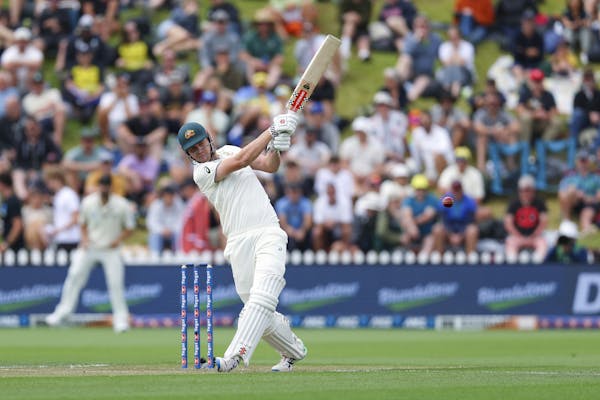
Green, meanwhile, finished on 174*, scoring 101 more runs with the No.10 and No.11. Together with Josh Hazlewood, he ended up putting on a scarcely believable 116 for the tenth wicket.
It was a masterclass from Green on how to bat with the tail.
When Cummins was dismissed, the 24-year-old had faced 137 balls. Australia batted 217 more balls after the skipper’s dismissal and Green ended up facing 63.6 % of those deliveries while scoring 72.6% of the runs.
Far too often while batting with the tail, specialist batters tend to lose their heads. They tend to go for broke too soon and try to take on the deep fielders from ball one. How many times have we seen the innings end because the specialist batter got caught at long-on or deep mid-wicket early in the over?
Green bided his time. While batting with the No.11 Hazlewood, he essentially split every over into two parts: balls 1-4 and then balls 5 & 6.
He played balls 1-4 like he normally would. He blocked, defended, let balls go and respected the bowler and the conditions. He did not attempt slogs because, well, he knew it was a low-percentage option with the field completely spread out.
However, he fully changed his modus operandi on balls 5 and 6, actively looking for runs because the field was in due to New Zealand wanting to keep Hazlewood on strike for the next over.
Green was not afraid to go big on deliveries 5 & 6 but, equally, was also on the lookout for singles in order to keep himself on strike for the next over.
In his partnership with Hazlewood, Green remarkably collected a whopping 61 runs from the final two balls of the over (balls 5 and 6).
In all, in the final two balls of the over, he hit five sixes, five fours and took 11 singles to ensure he shielded Hazlewood and kept strike the following over.
Admittedly, Green and Australia were aided by New Zealand’s tactics. The hosts were flat, timid and one-dimensional for the entirety of the partnership as they waited, waited and waited for ‘things to happen’, making no proactive moves on the field. To their dismay, it never ‘happened’ for them. By the time Hazlewood chipped Henry straight to mid-off, it was too late.
That being said, a lot of credit has to be given to Hazlewood, too. A few weeks ago, the big man was on the wrong side of things when he got cleaned up by Shamar Joseph with Australia needing 9 more to win, and a set Steve Smith (92*) at the other end.
This time around, however, Hazlewood did not give the bowling side a sniff. At least until the job was done; he was rock solid with his defence and also collected boundaries whenever there was an opportunity. After his first 30 balls, he became so solid that he never looked like getting out.
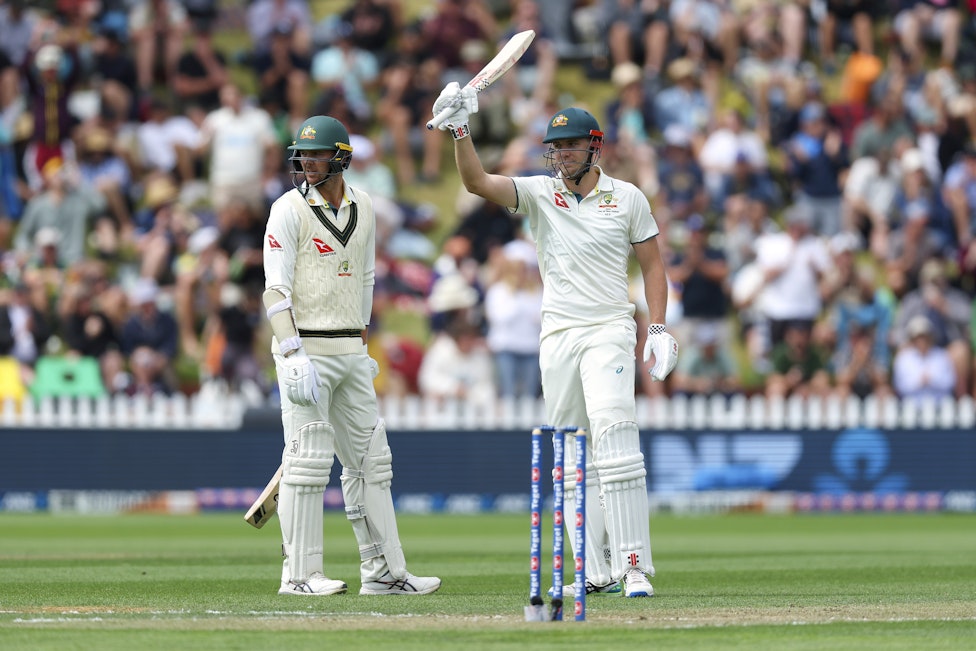
Green was unstoppable indeed, but the 116-run 10th wicket stand, which is Australia’s fourth-highest 10th wicket stand EVER, would certainly not have been possible without the temperament and batting maturity shown by Hazlewood, who batted like a No.9 batter.
At stumps on Day 1, 279 felt close to par due to how the surface was behaving. With the ball still doing plenty, it does feel like the Aussies have managed to notch up a score well above par. Which is remarkable when you consider the fact that only one batter in the entire innings ended up scoring more than 40.
On Day 1, Green played a 'coming of age' knock. On Day 2, he's turned it into a knock for the ages.